


 buildblueprint.com
 Introduction: Building a Lean-To Shed A lean-to shed is a versatile and cost-effective storage solution. This guide will walk you through building a simple lean-to shed, perfect for storing garden tools, firewood, or other outdoor equipment. Before starting, ensure you have all the necessary tools and materials. Planning is key to a successful project.
Materials List: Pressure-treated lumber for the foundation (4x4s or 6x6s) Framing lumber (2x4s) Sheathing (plywood or OSB) Roofing material (shingles, metal, or corrugated plastic) Siding (wood, vinyl, or metal) Fasteners (nails, screws, construction adhesive) Door and hardware Concrete mix (if pouring footings) Gravel or crushed stone (for drainage)
Tools List: Measuring tape Level Circular saw or hand saw Drill/driver Hammer Square Safety glasses Gloves Shovel Wheelbarrow (if mixing concrete) Ladder
Step 1: Prepare the Site Choose a location for your shed, ensuring it's relatively level and has good drainage. Clear the area of any vegetation, rocks, or debris. Determine the desired dimensions of your shed. A common size is 8ft wide x 12ft deep, but adjust as needed. If pouring concrete footings, dig holes below the frost line at each corner and at intervals along the perimeter. Pour concrete into the holes and allow to cure. 
Step 2: Build the Foundation If using pressure-treated lumber directly on the ground, create a perimeter foundation using the 4x4s or 6x6s. Ensure the foundation is level and square. Secure the corners with screws or bolts. If using concrete footings, attach the pressure-treated lumber to the footings using appropriate hardware (anchor bolts or brackets). Fill the area within the foundation with gravel or crushed stone for drainage. Compacting the gravel base is important for stability.
Step 3: Frame the Walls Cut the studs for the walls, keeping in mind that the back wall will be shorter than the front wall to create the lean-to slope. A typical slope is 1:12 (1 inch of drop for every 12 inches of run). Frame the walls using 2x4s, spacing the studs 16 inches on center. Construct the walls on the ground and then raise them into place. Secure the walls to the foundation using screws or nails. Ensure the walls are plumb and square before securing them permanently.
Step 4: Build the Roof Attach rafters to the top plates of the walls, maintaining the lean-to slope. Use 2x4s for the rafters and space them 24 inches on center. Overhang the rafters slightly beyond the walls for better weather protection. Install sheathing (plywood or OSB) over the rafters to create a solid roof deck. Secure the sheathing with nails or screws.
Step 5: Install Roofing and Siding Apply roofing underlayment over the sheathing to protect it from moisture. Install your chosen roofing material (shingles, metal, or corrugated plastic) according to the manufacturer's instructions. Install siding on the exterior walls, overlapping the pieces appropriately. Ensure the siding is securely fastened to the framing.
Step 6: Install the Door Frame the opening for the door and install the door frame. Hang the door using hinges and install the necessary hardware (latch, handle, lock). Ensure the door swings freely and closes securely.
Step 7: Finishing Touches Caulk any gaps or cracks to prevent water from entering the shed. Add trim around the door and windows (if any). Paint or stain the shed to protect it from the elements and give it a finished look. Install shelves or other storage solutions as needed.

Conclusion: Your New Lean-To Shed Congratulations! You have successfully built your own lean-to shed. With proper maintenance, this shed will provide years of reliable storage. Remember to periodically inspect your shed for any signs of damage or wear and make repairs as needed. Enjoy your new storage space! buildblueprint.com  www.wrightsheds.com
  shedsplanskits.com

Lean-to Shed Plans
buildblueprint.com Lean To Shed Pricing
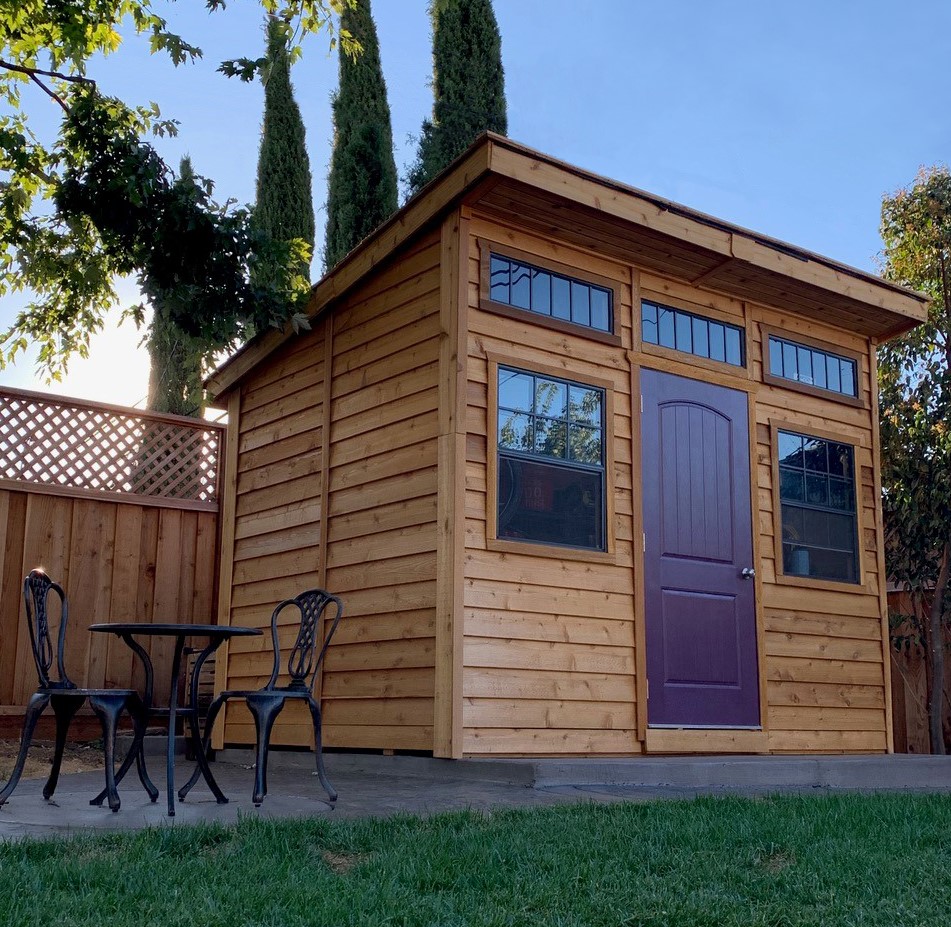
www.wrightsheds.com Lean To Shed Design
shedsplanskits.com
Langganan:
Posting Komentar (Atom)
0 komentar:
Posting Komentar