


 shedplans.org
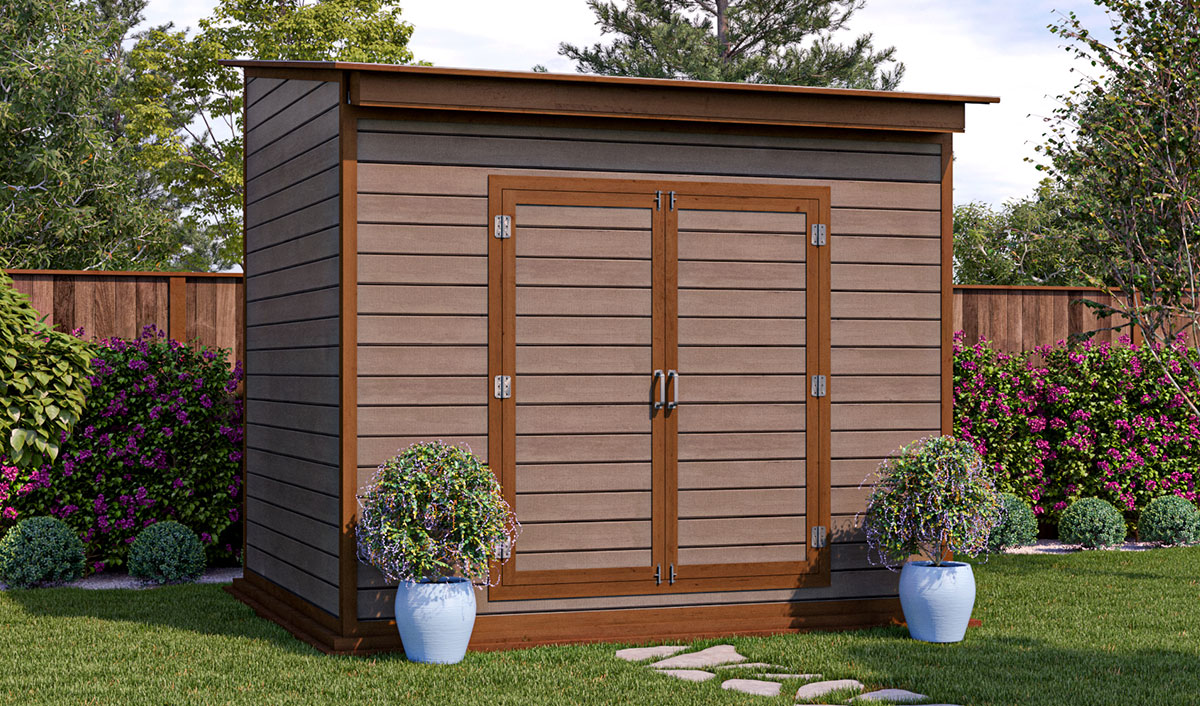
 Introduction: Building Your Own 8x10 Lean-To Shed Welcome! This guide will walk you through the process of constructing an 8x10 lean-to shed. This type of shed is a great option for extra storage and can be built relatively easily with basic woodworking skills and tools. Get ready to roll up your sleeves and create a functional and attractive addition to your property!
Step 1: Planning and Preparation Before you start hammering, careful planning is crucial. You'll need to obtain the necessary permits, gather your materials, and prepare the site. Let's break it down: Permits: Check with your local building department to determine if you need a permit for your shed. Requirements vary by location. Shed Plans: Purchase or create detailed 8x10 lean-to shed plans. These plans will provide specific dimensions, materials lists, and step-by-step instructions. Good plans are essential for a successful build. Materials: Based on your plans, create a comprehensive materials list. This will typically include lumber (treated for the base), plywood, siding, roofing materials, nails, screws, and hardware. Consider the quality of the materials you purchase for a shed that lasts. Tools: Ensure you have the necessary tools, including a circular saw, drill, level, measuring tape, hammer, square, safety glasses, work gloves, and possibly a nail gun or screw gun. Site Preparation: Choose a level location for your shed. Clear the area of vegetation, rocks, and debris. You may need to level the ground or build a gravel base for drainage.
Step 2: Building the Foundation The foundation provides a stable base for your shed. A simple and common approach is a treated lumber frame. Cut the Lumber: Following your plans, cut the treated lumber for the perimeter of the foundation frame (8 feet and 10 feet lengths). Assemble the Frame: Assemble the frame using screws or nails, ensuring it is square. Double-check the measurements and diagonals to ensure accuracy. Add Interior Supports: Add treated lumber supports within the frame, typically spaced 16 inches on center. These joists provide support for the floor. Level the Foundation: Place the frame on your prepared site. Use shims to level the frame completely. Proper leveling is critical for the rest of the build. Secure the Foundation: Secure the foundation to the ground using stakes or concrete blocks, depending on your soil and climate.
Step 3: Constructing the Floor With the foundation in place, it's time to build the shed floor. Cut the Plywood: Cut sheets of plywood to fit within the foundation frame. Attach the Plywood: Secure the plywood to the frame using nails or screws. Ensure the plywood is flush and tightly fitted.
Step 4: Framing the Walls The walls give your shed its shape and structural integrity. Cut the Wall Studs: Following your plans, cut the wall studs (2x4 lumber is common) to the correct lengths. Remember that a lean-to shed will have walls of varying heights to create the slope for the roof. Assemble the Walls: Assemble the walls on the ground. Attach the studs to the top and bottom plates (horizontal lumber at the top and bottom of the wall frame) using nails or screws. Maintain a spacing of 16 inches on center between studs. Frame the Door and Window Openings: Incorporate framing for the door and window openings as specified in your plans. This will typically involve adding headers (horizontal support beams) above the openings. Raise the Walls: With assistance, carefully raise each wall section and secure it to the foundation and to each other at the corners. Use a level to ensure the walls are plumb (perfectly vertical). Brace the Walls: Add temporary bracing to the walls to keep them stable while you continue building.
Step 5: Installing Siding Siding protects your shed from the elements and gives it a finished look. Choose Siding Material: Select your siding material (wood siding, vinyl siding, or other options). Cut and Install Siding: Cut the siding to size and attach it to the wall framing, following the manufacturer's instructions. Overlap the siding as needed to prevent water intrusion.
Step 6: Building the Roof The roof is essential for protecting your shed from rain and snow. Cut Rafters: Cut the rafters (roof supports) according to your plans, ensuring they are the correct length and angle to create the desired lean-to slope. Install Rafters: Attach the rafters to the top plates of the walls, spacing them evenly (typically 24 inches on center). Sheathe the Roof: Cover the rafters with plywood sheathing. Secure the sheathing with nails or screws. Install Roofing Material: Install your chosen roofing material (asphalt shingles, metal roofing, etc.) according to the manufacturer's instructions. Start at the bottom and work your way up, overlapping each course.
Step 7: Adding Door and Windows Now, it's time to install the door and windows. Install the Door: Hang the door in the framed opening, ensuring it swings freely and closes securely. Install hinges and a latch. Install Windows: Install the windows in the framed openings, following the manufacturer's instructions. Seal around the windows with caulk to prevent water leaks.
Step 8: Finishing Touches With the basic structure complete, add the finishing touches. Install Trim: Add trim around the door, windows, and corners of the shed to give it a polished look. Paint or Stain: Paint or stain the siding and trim to protect the wood and enhance the appearance of your shed. Add Gutters (Optional): Install gutters and downspouts to direct rainwater away from the shed. Interior Finishing (Optional): Add shelving, workbenches, or other interior features to customize your shed for your needs.
Conclusion: Enjoy Your New Shed! Congratulations! You've successfully built your own 8x10 lean-to shed. With proper maintenance, your shed will provide years of valuable storage space and enhance the value of your property. Enjoy your new shed!
8×10 Lean To Shed Plans Blueprints
 shedconstructionplans.com
 8x10 Lean To Garden Shed Plan
shedplans.org 8x10 Lean To Storage Shed Plan
 shedplans.org

0 komentar:
Posting Komentar